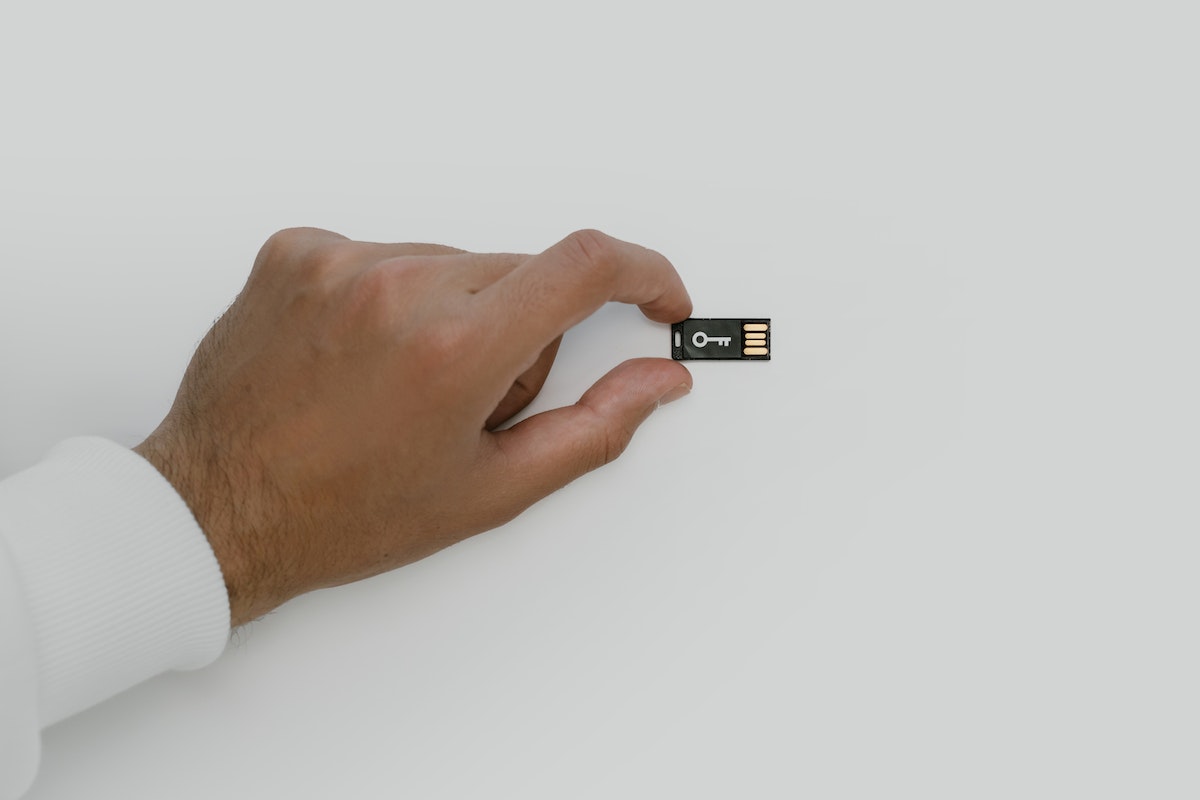
Here’s how to insert a memory card in a pen camera in seven simple steps.
Pen cameras are becoming increasingly popular due to their compact size and discreet design. These cameras are great for capturing important moments without drawing attention to yourself.
However, if you want to store more footage, you need to insert a memory card into your pen camera.
If you’re looking to use your new pen camera, but aren’t sure how to insert a memory card, then you’ve come to the right place!
In this article, we’ll walk you through the steps on how to insert a memory card in a pen camera.
Step 1: Check the Type of Memory Card Your Pen Camera Accepts And Purchase It
Pen cameras usually use MicroSD cards.
So, make sure you purchase a MicroSD card that’s compatible with your pen camera.
Also, make sure the memory card has enough storage capacity to store your footage.
Step 2: Power off the Pen Camera
Before inserting the memory card, make sure your pen camera is powered off.
This will prevent any data loss or damage to the memory card.
Step 3: Locate the Memory Card Slot
The next step is to locate the memory card slot on your pen camera.
Most pen cameras have a small slot on the side of the device where you can insert the memory card into.
Step 4: Insert the Memory Card
Once you’ve located the memory card slot, gently push the memory card into the slot until you hear a click.
Make sure you insert the memory card with the metal contacts facing down and the label facing up.
Also, make sure not to force the card in if it doesn’t easily go all the way in, as you could risk damaging the memory card and the pen camera.
Step 5: Power on the Pen Camera
Once you’ve inserted the memory card, turn on your pen camera to ensure that it’s working properly.
If the camera doesn’t detect the memory card, try the process again and make sure you’ve inserted it correctly.
Step 6: Format the Memory Card
If this is the first time you’re using the memory card in your pen camera, you’ll need to format it.
Formatting the memory card will erase any data on it and prepare it for use in your pen camera. To format the memory card, go to the settings menu on your pen camera and select the format option.
Step 7: Test the Memory Card
After formatting the memory card, take a few test shots to make sure everything is working properly.
Check the footage on your computer to ensure that the camera is recording correctly and that the footage is being saved to the memory card.
Wrapping Up
In conclusion, inserting a memory card in a pen camera is a simple process that can be done in just a few steps.
With the right memory card and proper insertion technique, you’ll be able to store more footage and capture all of life’s important moments with ease.
Remember to follow these steps carefully to avoid any damage to your pen camera or memory card. Happy filming!
By the way, to learn how to hide a spy camera in your car, check out this guide.
