Want to learn how to install Night Owl Doorbell camera? It’s simple. Let me show you how!
Night Owl Doorbell Cameras have proven to be great home security systems, which is why they are the preferred choice of many homeowners.
These cameras are great because of how easy it is to install them. All you need is the included guidebook and a simple article like this, and you can do it all by yourself.
Materials for Installing Night Owl Doorbell Camera
To install the Night Owl Doorbell, you must have certain things in place. Luckily, some of these things are delivered to you alongside the doorbell system. But the others can be found around you.
Here’s the full list of materials you need to begin the installation.
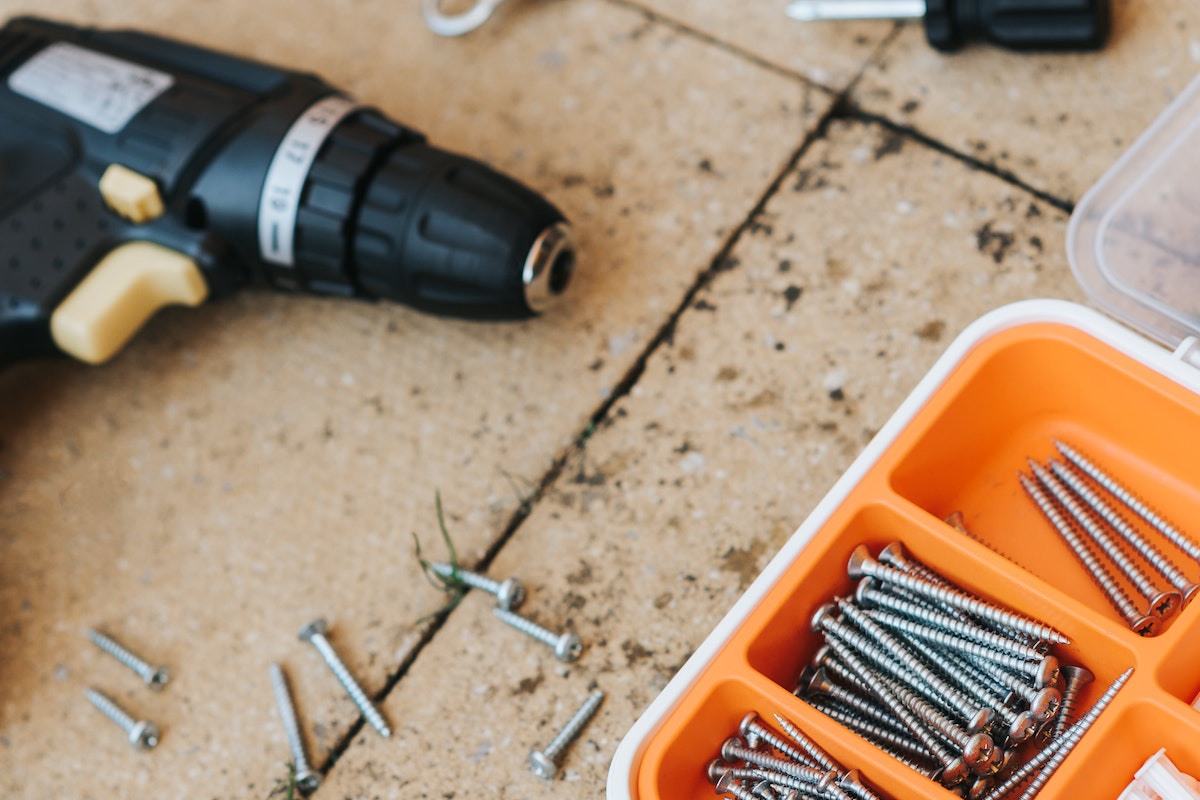
- A drill
- Drill bits
- An internet router
- Your smartphone
- A USB charging port.
With these in place, your doorbell camera is ready for installation.
How to Install Night Owl Doorbell Camera
1. Prepare the Camera for Set-up
To begin the installation process, you must first remove your doorbell from the package and inspect it for any damages.
If you find any part broken, you might want to return the product to the company so that they can send you a replacement.
Afterward, test the camera before mounting it permanently.
To do this, you’d have to pull out the face plate from the camera so you can check it.
Don’t forget to remove the plastic on the doorbell’s USB port as well so you can connect the doorbell to a USB adapter and plug it into the wall.
The camera should come on after a minute or two and you’ll receive a prompt telling you that the doorbell is pairing.
Make sure you keep the doorbell connected until you’re ready to mount it.
2. Connect the Doorbell to the Night Owl Connect App
With your doorbell successfully paired, the next step is to download the Night Owl Connect App on your android or iOS phone.
Once downloaded, open the app and log into your account if you have one, or sign up for a new one if you don’t.
The app will ask for your email and give you some other instructions you need to set up and verify your account. Follow the instructions and get your account up and running.
When you’re done with this, you’ll see a plus sign on your screen. Tap it and add your device using the instructions provided for you.
3. Install and Mount the Doorbell
Before you begin, make sure you switch off the power in your home to avoid electrocution. If you have an old doorbell, remove it from its place and disconnect the wires.
Next, remove the Night Owl Doorbell from power and replace the plastic on the USB port.
Then place the mounting plate on the wall and mark the position of the holes. After doing that, you want to drill the mounting holes for the screws just before you mount it and screw it in place.
Now that the mounting plate is up, connect the doorbell to the doorbell wiring and push the wires into the wall socket before mounting the doorbell onto the plate.
When you’re done, test it to see if it shows a blue light that spins clockwise. At this time, the app must have sent you a notification, informing you that you’ve successfully mounted your Owl Doorbell.
Conclusion
And that’s it! You’ve done it! But just in case you’re beginning to have second thoughts about getting a doorbell camera, here’s why doorbell cameras are a must-have for homes today.
