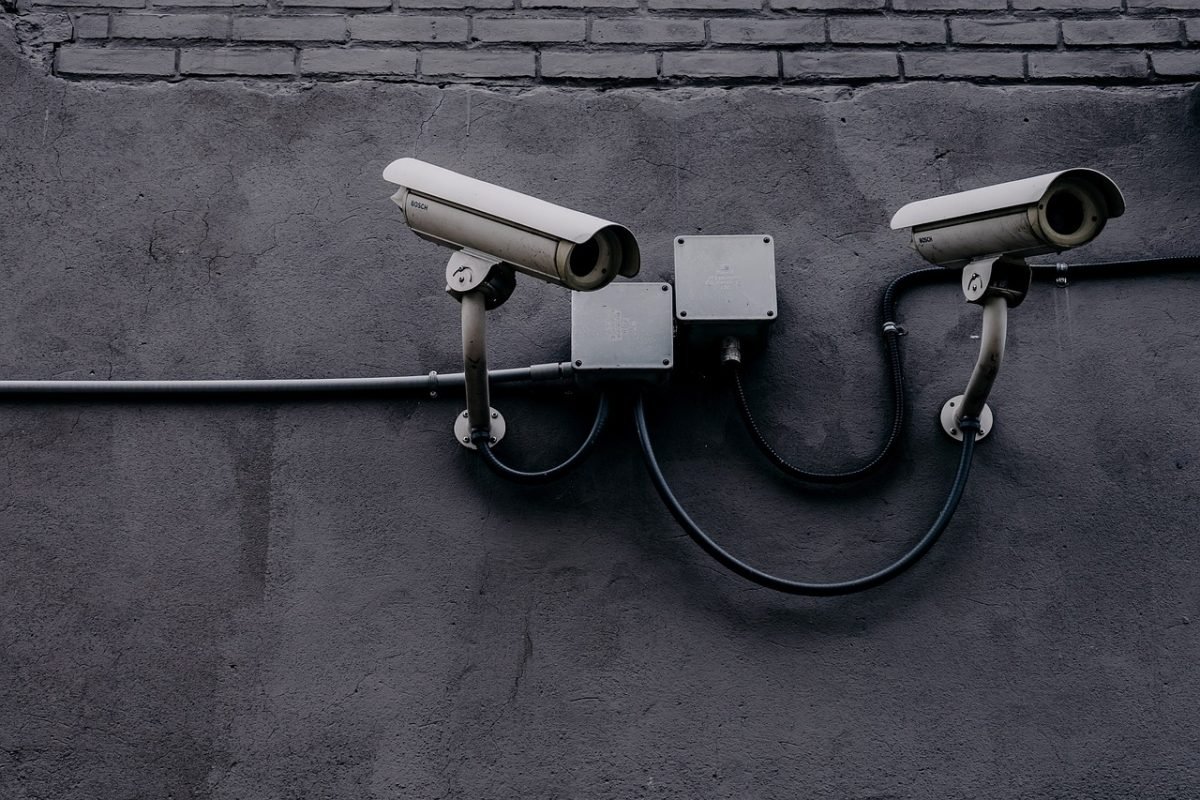
Have you ever wondered how spies and private investigators capture all those covert images and videos? Chances are, they’re using a spy camera – a tiny, discreet camera that can be hidden just about anywhere.
But did you know that you can build your own spy camera too? It’s true! With just a few materials and some know-how, you can create your very own spy camera to capture all sorts of clandestine footage.
In this article, I’ll show you how to build a spy camera from scratch.
Some Ethical Considerations Before You Start
Before we begin, it’s important to note that building and using a spy camera can be a legal gray area, and there are ethical considerations to take into account as well.
I strongly recommend researching the laws in your area and using your spy camera responsibly and ethically.
Materials Needed to Build a Spy Camera
Now, on to the fun part.
Here are the materials you’ll need to build a spy camera:
- Camera lens
- Sensor
- Battery
- Memory card
- Soldering iron
- Multimeter
- Wire cutters
Step 1: Choose Your Camera
The first step in building your spy camera is choosing the camera you’ll be using.
There are a few different types of cameras that can be used for this purpose, including webcams, point-and-shoot cameras, and DSLRs.
Each type of camera has its own pros and cons, so do your research and choose the one that’s best for your needs.
Step 2: Disassemble the Camera
Once you’ve chosen your camera, it’s time to take it apart.
This can be a bit tricky, so be sure to consult online guides or tutorials to make sure you don’t damage anything.
You’ll need to remove the camera’s outer casing and disconnect the lens and sensor from the circuit board.
Step 3: Mount the Lens and Sensor
Next, you’ll need to mount the camera lens and sensor in a small enclosure, such as a plastic or metal box.
Be sure to secure the lens and sensor firmly in place, using glue or another adhesive if necessary.
Step 4: Connect the Battery and Memory Card
Using your soldering iron, connect the battery and memory card to the circuit board.
You may need to modify the circuit board slightly to make these connections. So, be careful and follow online guides closely.
Step 5: Test and Calibrate Your Spy Camera
Once your spy camera is assembled, it’s important to test and calibrate it to ensure it’s working properly.
Use a multimeter to check that all the connections are secure, and test the camera in different lighting conditions to ensure it captures clear footage.
Adjust the camera settings as needed to optimize its performance.
Step 6: Use Your Spy Camera Responsibly
Finally, it’s important to use your spy camera responsibly and ethically.
Remember to respect the privacy of others, and don’t use your spy camera for illegal or unethical purposes.
Wrapping Up
In the end, it’s important to take into account the legal and ethical considerations associated with this activity and to use your spy camera responsibly and ethically.
With the right materials and a little know-how, you can create a spy camera that rivals the pros.
So go ahead, get creative, and start building your spy camera today!
And just in case you want to learn more about how a spy camera works, be sure to check out this article!