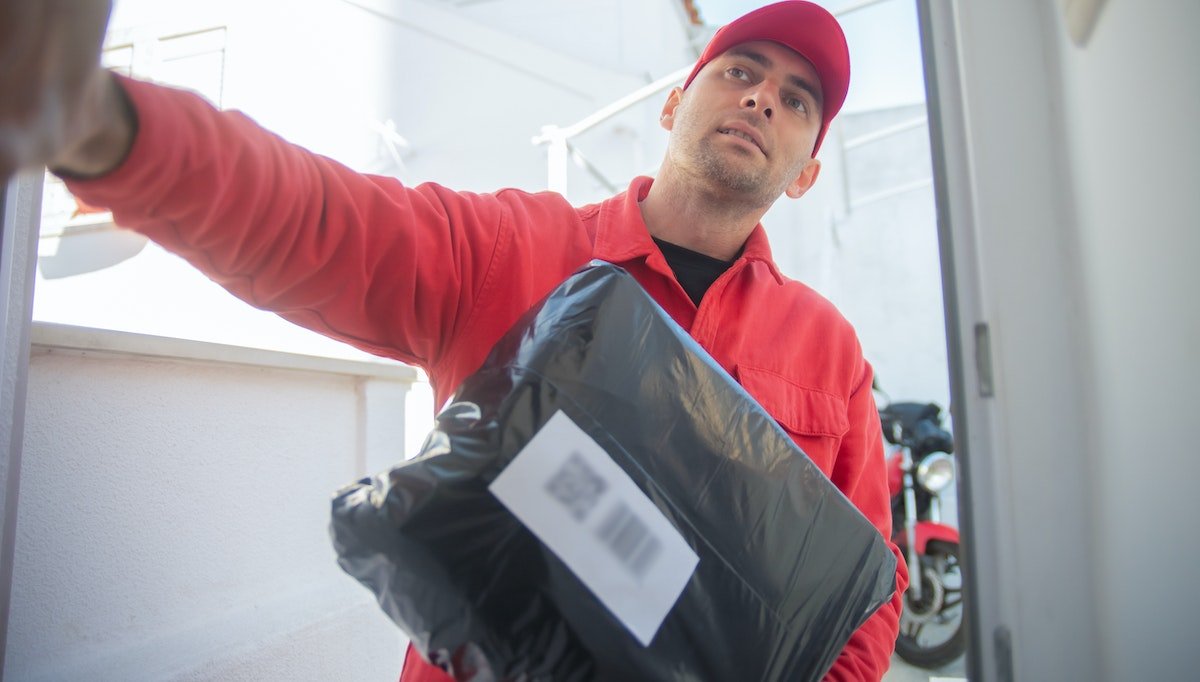
Are you tired of missing important deliveries or visitors because you can’t hear the doorbell from certain places in your home? In that case, a video doorbell could be what you need.
And if you are considering a video doorbell but don’t know where to start, the Nest Hello Doorbell is a great pick!
Installing a Nest Hello Doorbell may initially seem daunting, but with the right tools and materials, it can be a breeze.
Here are some steps to get you started:
Step 1: Get The Necessary Tools and Materials
First and foremost, gather all the necessary tools and materials.
You’ll need:
Make sure to have these on hand before beginning the installation process.
Step 2: Turn Off The Power Supply and Remove the Existing Doorbell
Next, turn off the power supply to the doorbell’s electrical circuit. This is important for your safety and to prevent any damage to the Nest Hello Doorbell.
Once the power is off, remove your existing doorbell button and wiring.
Be careful when removing the wiring to avoid damaging any other electrical components.
Step 3: Install The Mounting Bracket For The Nest Hello Doorbell
After removing the old doorbell, you can install the mounting bracket for the Nest Hello Doorbell.
The mounting bracket should be attached to your exterior wall using the screws and anchors with your Nest Hello Doorbell.
Make sure to follow the instructions carefully to ensure a secure and stable installation.
Step 3: Connect The Wires
With the mounting bracket in place, it’s time to connect the wires.
Follow the Nest app’s instructions carefully to ensure the wires are connected correctly.
Use the wire connectors that came with the Nest Hello Doorbell to make sure everything is connected correctly.
Step 4: Attach The Doorbell To The Mounting Bracket
Once the wires are connected, it’s time to attach the Nest Hello Doorbell to the mounting bracket.
Make sure to use the screws provided and check that the doorbell camera is level before tightening them all the way.
Step 5: Turn The Power on And Test Everything
After attaching the Nest Hello Doorbell, it’s time to turn the power back on and test everything out.
Make sure that the doorbell camera is functioning correctly and that you’re receiving the expected video feed and audio.
Step 6: Customize Your Settings With The Nest App
With the Nest Hello Doorbell installed and functioning, it’s time to customize your settings.
Use the Nest app to connect your Nest Hello Doorbell to your home’s Wi-Fi network and customize your settings to your liking. This includes setting up additional features such as facial recognition, motion detection, and alerts.
In case of any troubleshooting, refer to the Nest Hello Doorbell’s manual or reach out to customer support. They’ll be happy to help you get everything up and running correctly.
Conclusion
Installing a Nest Hello Doorbell may seem intimidating at first, but with the right tools and a bit of patience, it can be a relatively easy process.
The added security and convenience that it provides can make all the difference in your day-to-day life.
No more missed deliveries or visitors, and no more wondering who’s at your door. With the Nest Hello Doorbell, you’ll always be in the know.
