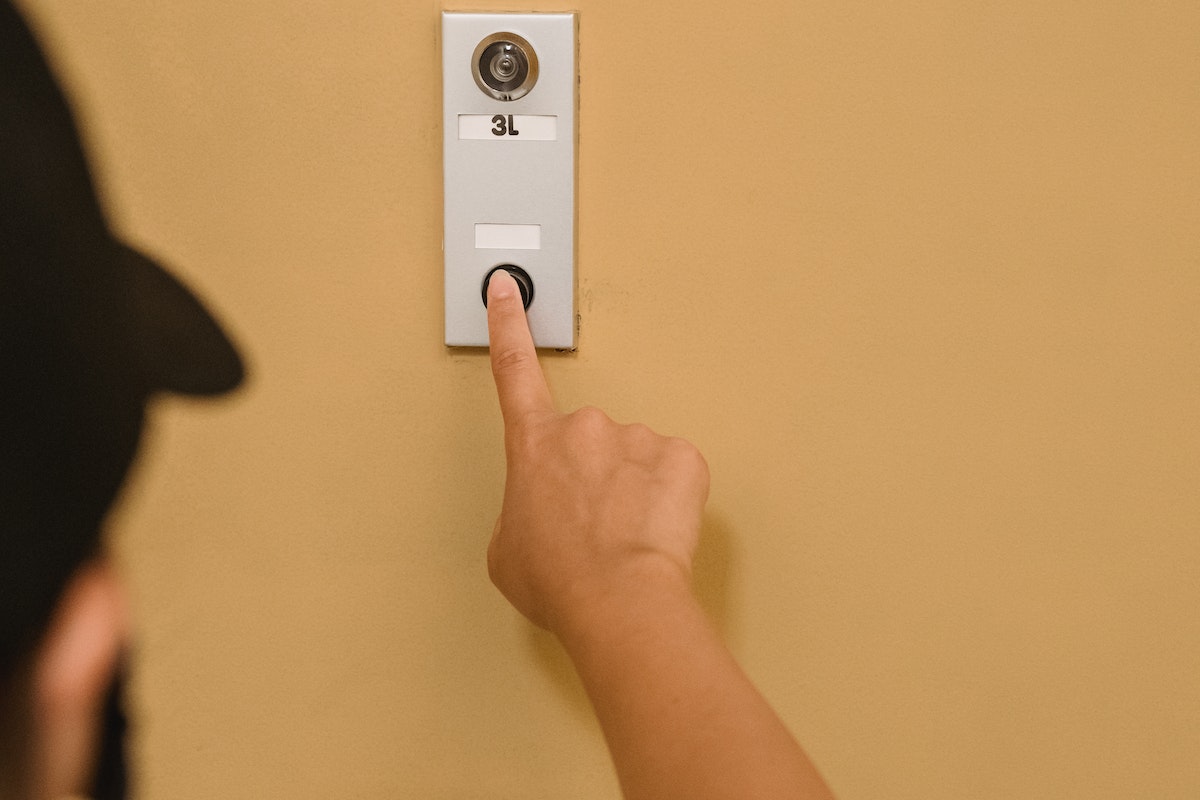
In this article, I will be showing you how to install Blink Outdoor Doorbell.
Blink is a company that focuses on providing surveillance to homes and offices.
The company is owned by Amazon, and since its products have been released to the public, they have served the public well.
The Blink Outdoor Doorbell is one of the best surveillance systems you can have for your front porch. It enables you to know who is at your door without having to go there yourself.
This smart camera system has saved a lot of lives and exposed a lot of danger. And it does all this at a surprisingly low price.
So, in today’s article, we explore the Blink Outdoor Doorbell and how to install it.
How to Install Blink Outdoor doorbell
Setting up the outdoor doorbell is not a hard process. With the following steps, you can do it yourself:
1. Download the Blink app
To do this, you’d have to go to the app store on your phone.
On the app store, download the Blink app and create your account. This is the only way you can control the system.
Information you’d be expected to fill in will include your residence and email.
Once that’s done, you’ll get a verification code, which you’ll use to link your Amazon account to your Blink account.
2. Add Devices
Now that you have an account, you can now add your devices.
All you have to do is to tap on the plus button in the right corner to see the list of several devices you can choose from.
From the list, select the Blink Outdoor Doorbell.
3. Scan the QR Code on the Doorbell
Look to the back of the doorbell and you’ll see the QR code on the battery slots.
Make sure that you’re in a well-lit area so that the camera can pick up the code.
4. Create a System
A system is the name of the group of Blink devices.
For example, if you have more than one doorbell or security camera from the company, you can add them all to that system.
When you add your devices, you can choose to name the system whatever you choose.
5. Turn It on and Connect it to the WiFi
Put the batteries into the back of the doorbell so that the doorbell can come on. When it comes on, it will blink red, and send signals to your phone.
When that happens, you will get a pop-up that will ask you to join the WiFi network Blink XXXX.
If this doesn’t happen, get to your settings and connect to that network.
Once you do this, head back to the Blink app.
6. Mount the Doorbell
Now that your set-up is complete, you can now mount up the doorbell wherever you want.
Make sure it is mounted in a way that allows the surveillance system to see the full view of your home frontier.
Whether you choose the wiring option or the wireless option, the Blink will have to replace your regular doorbell.
And when it does, it will draw power from the included batteries that come with it.
Make sure you change the batteries from time to time to avoid keeping your visitors waiting at your door.
This way, whenever someone walks up to your door and rings your bell, you can see them from wherever you are as long as you’re connected to the internet.
That said, we’ve also got a helpful guide on how to install a Google Nest home security system. You can click here to read that.
