This article gives a rundown of how to install Simplisafe doorbell camera. Lucky you, it’s a simple process.
The SimpliSafe Doorbell Camera is an excellent addition to any home security system, providing an extra layer of protection and convenience.
In this guide, we will walk you through the installation process, ensuring that you can set up your doorbell camera quickly and efficiently.
Follow the step-by-step instructions below to get started.
Pre-Installation Preparation
Before diving into the installation process, there are a few essential preparatory steps to take.
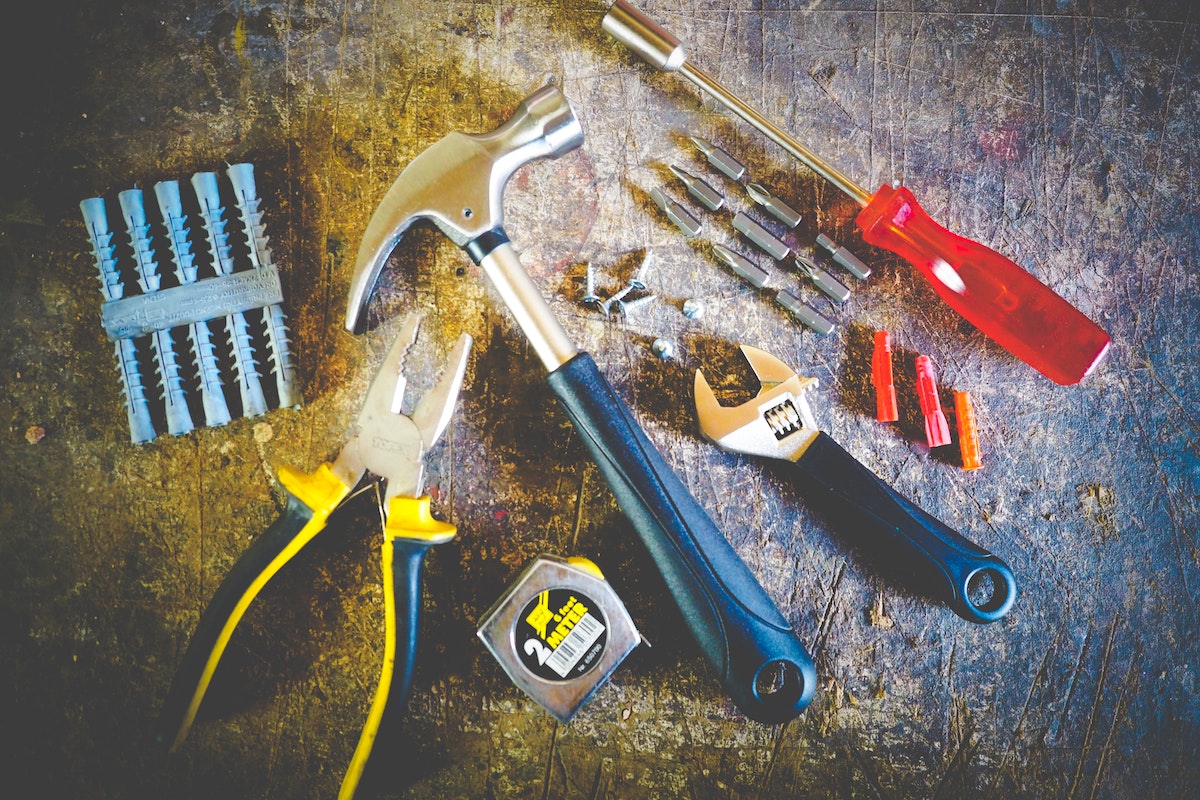
Step 1: Gather the Necessary Tools and Materials
- SimpliSafe Doorbell Camera (with mounting bracket and screws)
- Screwdriver
- Drill
- Measuring tape
- Level
Step 2: Check Your Wi-Fi Connection
Ensure that your home Wi-Fi network is working properly and that you have the necessary login credentials available.
Doorbell Camera Installation Steps
Step 1: Choose the Installation Location
Select the ideal location for your doorbell camera.
Consider factors such as visibility, proximity to your Wi-Fi router, and the angle of view you desire.
A good height for the camera is typically between 48 to 56 inches from the ground.
Step 2: Remove Your Existing Doorbell (If Applicable):
If you have an existing doorbell, you will need to remove it to make way for the SimpliSafe Doorbell Camera.
But turn off the power supply before disconnecting any wiring.
Step 3: Install the Mounting Bracket
Use the screws provided to attach the mounting bracket to the chosen location.
Ensure that the bracket is level and firmly secured.
Step 4: Connect the Wiring
Follow the included instructions to connect the doorbell camera’s wiring to your existing doorbell wiring.
If you do not have existing wiring, consult SimpliSafe’s support resources for guidance on alternative power options.
Step 5: Attach the Doorbell Camera
Carefully attach the doorbell camera to the mounting bracket.
Ensure that it is securely fastened, using any additional screws provided if necessary.
Step 6: Power On and Connect to Wi-Fi
Turn on the power supply to the doorbell camera.
Follow the in-app instructions on your smartphone to connect the camera to your home Wi-Fi network.
Make sure to enter the correct network credentials.
Step 7: Test the Doorbell Camera
Once connected, test the functionality of the doorbell camera by ringing the doorbell or triggering the motion sensor.
Verify that you are receiving real-time notifications and that the camera is recording video as expected.
Additional Configuration and Troubleshooting
Step 1: Customize Your Settings
Access the SimpliSafe app to personalize your doorbell camera settings.
This may include adjusting motion detection sensitivity, setting up activity zones, or configuring notification preferences.
Step 2: Troubleshooting Common Issues
If you encounter any issues during or after the installation process, consult SimpliSafe’s support documentation or contact their customer support for assistance.
They can help troubleshoot problems such as connectivity issues, camera positioning, or any other concerns you may have.
Conclusion
Installing the SimpliSafe Doorbell Camera is a straightforward process that can greatly enhance your home security.
By following the step-by-step guide provided, you can successfully install and configure your doorbell camera, allowing you to monitor your front door and enhance your overall peace of mind.
Now that you know how to install Simplisafe doorbell camera, you can enjoy the added convenience and security that comes with this valuable addition to your home.